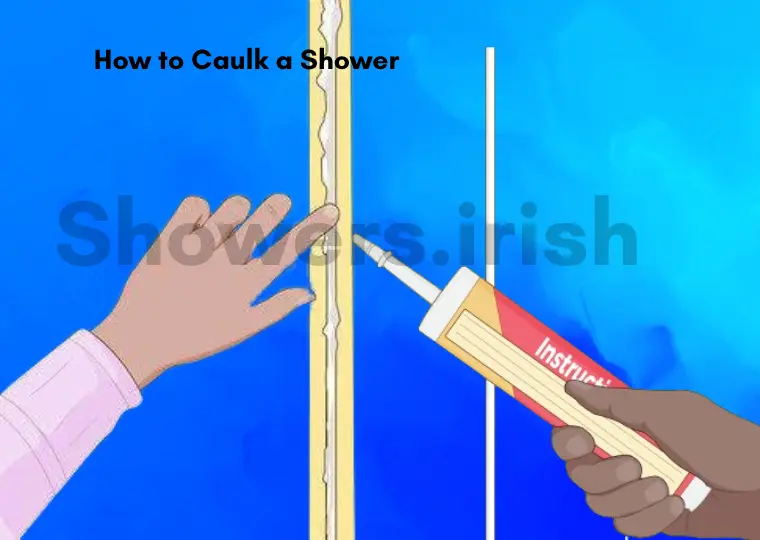
Caulking your shower is a crucial maintenance task that helps prevent water damage, mold growth, and keeps your bathroom looking pristine. Proper caul,king ensures that the joints between your shower tiles, fixtures, and the bathtub are sealed effectively. This guide will walk you through the process of caul,king a shower, from selecting the right materials to applying the caul,k and finishing up with clean-up.
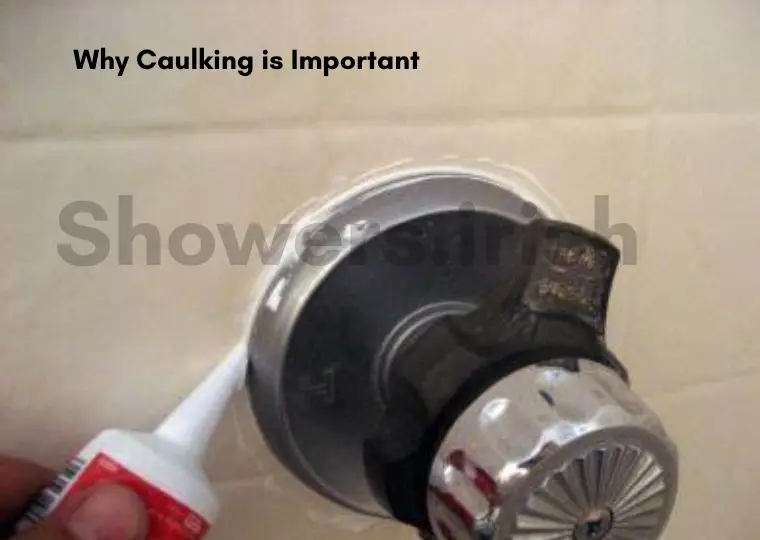
Why Caulking is Important
Caul,king is more than just an aesthetic improvement; it’s a practical measure that protects your shower area from moisture damage and mold growth.
Benefits of Proper Caulking
- Prevents Water Damage: Caul,k helps to create a watertight seal around shower fixtures and tiles, preventing leaks that can lead to water damage and expensive repairs.
- Reduces Mold Growth: A well-sealed shower minimizes the risk of moisture accumulation in grout lines and corners, reducing the likelihood of mold and mildew.
- Improves Aesthetics: Caul,king provides a clean, finished look to your shower area, hiding unsightly gaps and cracks.
When to Reapply Caulk
Regular inspection is necessary to determine when caul,king needs replacement. Look for signs such as peeling, cracking, or gaps in the existing cau,lk, which indicate that it’s time for a new application.
Tools and Materials Needed
Before starting your caul,king project, gather the necessary tools and materials to ensure a smooth process.
Essential Tools
- Caul,k Gun: For applying the caul,k evenly and efficiently.
- Utility Knife: To remove old caul,k and trim excess caul,k.
- Cau,lk Removal Tool: Optional, but useful for scraping away old caul,k.
- Sponge or Cloth: For cleaning and smoothing the caul,k.
Choosing the Right Caulk
Selecting the appropriate caulk is critical for ensuring a durable seal. Consider the following types:
- Silicone Cau,lk: Best for its flexibility and water resistance, ideal for wet areas like showers.
- Acrylic Latex Caul,k: Easier to work with and paintable, but may not be as durable as silicone in wet conditions.
Preparing the Shower for Caulking
Proper preparation is key to achieving a long-lasting and effective caul,k job. Follow these steps to ensure the best results.
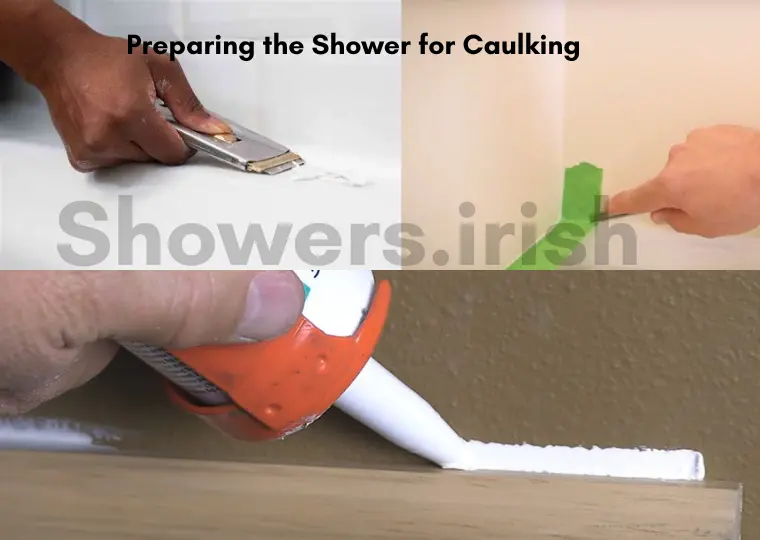
Removing Old Caulk
- Scrape Away the Old Caul,k: Use a utility knife or caul,k removal tool to carefully remove the old caul,k from the joints. Be thorough to ensure a clean surface for the new caul,k.
- Clean the Surface: Wash the area with soap and water to remove any residue or mold. Allow the surface to dry completely before applying new cau,k.
Applying Painter’s Tape
- Tape Off the Area: Apply painter’s tape along the edges of the joint where you will be applying the cau,lk. This helps create clean lines and prevents cau,lk from spreading onto unwanted areas.
Applying the Caulk
The application process is where precision and technique come into play. Follow these steps for a smooth and effective caul,king job.
Cutting the Caulk Tube
- Cut the Tip at an Angle: Use a utility knife to cut the tip of the caul,k tube at a 45-degree angle. The size of the opening should match the width of the joint you’re sealing.
- Pierce the Inner Seal: If the caul,k tube has an inner seal, use a long nail or the tip of a screwdriver to pierce it.
Applying the Caulk
- Load the Caul,k Gun: Insert the caul,k tube into the gun and apply a steady, even pressure to squeeze the caul,k out.
- Apply in a Continuous Bead: Move the gun steadily along the joint, applying a continuous bead of cau,lk. Ensure the caul,k fills the joint completely.
Smoothing the Caulk
- Smooth with a Tool or Finger: Use a caul,k smoothing tool or your finger (dipped in water) to smooth the caul,k and ensure it adheres well to both sides of the joint. This helps create a clean, professional finish.
- Remove Painter’s Tape: Carefully remove the painter’s tape before the cau,lk dries to ensure crisp, clean lines.
Final Steps and Maintenance
Once the caul,k is applied, proper finishing and maintenance are essential for durability and appearance.
Drying Time
- Allow to Dry Completely: Follow the manufacturer’s instructions for drying time. Typically, silicone cau,lk requires about 24 hours to cure, while acrylic latex may dry faster.
- Avoid Moisture: Keep the shower dry during the curing process to ensure the caul,k sets properly.
Routine Inspection and Maintenance
- Inspect Regularly: Check the caul,k periodically for any signs of wear or damage. Early detection of issues can prevent more significant problems.
- Reapply as Needed: Reapply caul,k if you notice cracks, peeling, or gaps to maintain an effective seal.
Conclusion
Properly caul,king your shower is essential for maintaining a watertight seal, preventing mold growth, and ensuring a clean, finished look. By following this comprehensive guide—choosing the right materials, preparing the area, and applying the caul,k correctly—you can achieve a durable and aesthetically pleasing result. Regular maintenance will help keep your shower in top condition.
For more detailed tips on shower maintenance and caul,king techniques, explore additional resources or consult with a professional for expert advice. Happy caul,king!
FAQS:
What type of caul,k is best for a shower?
For showers, silicone cau,lk is generally the best choice due to its water resistance and flexibility. It adheres well to various surfaces and prevents mold growth. Acrylic latex caul,k can also be used but may not be as durable in wet conditions.
How do I remove old cau,lk from my shower?
Use a utility knife or a specialized caul,k removal tool to scrape away old caul,k. Clean the area with soap and water, and make sure it is completely dry before applying new cau,lk.
How long should I wait before using the shower after applying caulk?
Silicone caulk typically requires about 24 hours to fully cure, while acrylic latex caulk may dry faster. It’s best to avoid using the shower during this time to ensure the caulk sets properly.
Can I apply caulk over existing caulk?
It’s best to remove old caulk before applying new caulk to ensure a strong, effective seal. Applying new caulk over old can result in poor adhesion and an uneven finish.
How do I ensure a clean finish when caulking?
Apply painter’s tape along the edges of the joint before caulking to create clean lines. Smooth the caulk with a tool or your finger, and remove the tape before the caulk dries for the best results.
Finding the perfect hot shower temperature can enhance your relaxation and comfort while ensuring safety. It’s crucial to know the recommended temperature range to avoid burns and maximize your shower experience. Generally, a safe and comfortable hot shower temperature is between 37°C and 40°C. Temperatures within this range are warm enough to be soothing without being too hot.
For more detailed insights into choosing the right hot shower temperature and understanding its benefits,
check out this guide.
This resource provides practical advice on setting your shower temperature to suit your preferences and needs, helping you achieve a pleasant and safe shower experience. Adjusting your shower temperature correctly can not only improve your relaxation but also prevent potential hazards associated with excessively hot water.
Credit Website: www.ireland.ie/