
Introduction to Grohe Shower Mixer
Grohe, a renowned brand in the world of bathroom fittings, offers a range of high-quality shower mixers designed to enhance your shower experience. Understanding how to correctly install and maintain a Grohe shower mixer ensures optimal performance and longevity. This guide provides a step-by-step approach to installing and maintaining your Grohe shower mixer, ensuring you get the most out of your investment.
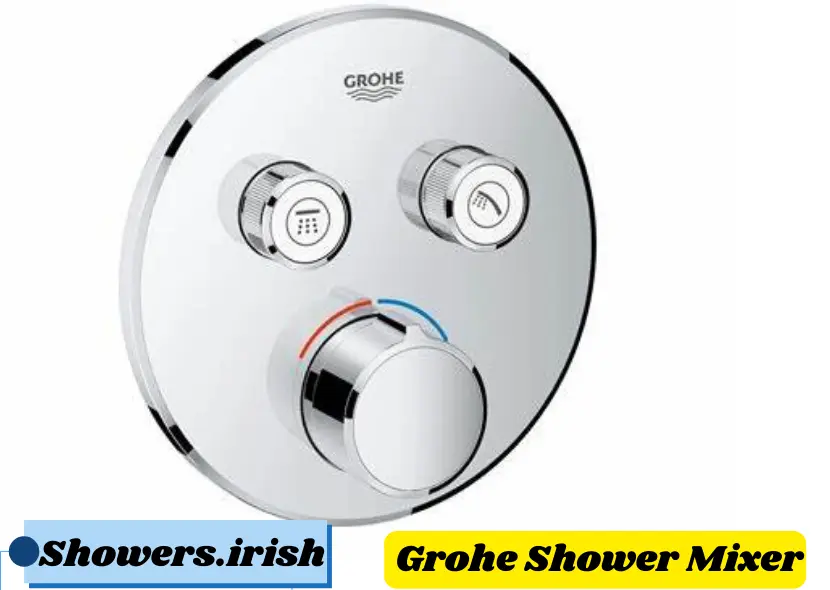
Understanding the Components of a Grohe Shower Mixer
Before diving into the installation process, it’s crucial to familiarize yourself with the essential components of a Grohe shower mixer. Each part plays a vital role in ensuring proper functionality and water flow control. Here are the key components you’ll encounter:
- Thermostat Control: Regulates water temperature to prevent scalding and ensure consistent comfort.
- Water Flow Controls: Handles for adjusting water flow intensity.
- Cartridge: Central mechanism responsible for mixing hot and cold water.
- Trim Plate and Handles: External components for aesthetic and operational control.
- Connections and Pipes: Interfaces for connecting to water supply lines.
Installation Process of Grohe Shower Mixer
Installing a Grohe shower mixer involves several detailed steps to ensure correct placement and functionality. Proper installation not only prevents leaks but also enhances the overall efficiency of your shower system.

Preparing for Installation
Before beginning the installation process, gather all necessary tools and materials:
- Tools: Adjustable wrench, screwdrivers, pipe wrench, tape measure.
- Materials: Grohe shower mixer kit, plumber’s tape, silicone sealant.
Step-by-Step Installation Guide
- Shut Off Water Supply: Locate the main water valve and turn it off to prevent any water flow during installation.
- Prepare Mounting Surface: Ensure the surface where the shower mixer will be mounted is clean and dry. Use a level to mark drilling points if necessary.
- Install Mounting Bracket: Secure the mounting bracket to the wall using appropriate screws and anchors. Ensure it is level and sturdy.
- Connect Water Supply Lines: Use plumber’s tape to wrap around the threaded ends of water supply lines. Connect hot and cold water supply lines to the corresponding inlets on the shower mixer. Tighten securely using an adjustable wrench.
- Install Trim Plate and Handles: Position the trim plate over the mounting bracket. Attach the handles and secure them in place according to the manufacturer’s instructions.
- Test for Leaks: Once installed, turn on the water supply and test the shower mixer for leaks or drips. Adjust connections if necessary and apply silicone sealant around the trim plate for a secure fit.
Troubleshooting Common Installation Issues
- Leaks: Check connections for loose fittings or damaged seals.
- Temperature Fluctuations: Ensure the thermostat is correctly calibrated and not obstructed.
- Water Flow Problems: Inspect for debris in the cartridge or blockages in supply lines.
Maintenance and Care Tips for Grohe Shower Mixer
Maintaining your Grohe shower mixer prolongs its lifespan and ensures continued performance. Regular care prevents issues such as leaks and maintains water efficiency.
Cleaning and Descaling
- Regular Cleaning: Use a soft cloth and mild detergent to clean the trim plate and handles. Avoid abrasive cleaners that may damage the finish.
- Descaling: Periodically remove mineral deposits by soaking components in a vinegar solution or using a commercial descaling agent recommended by Grohe.
Inspecting and Replacing Parts
- Cartridge Inspection: Check the cartridge annually for signs of wear or buildup. Replace if necessary to maintain smooth operation.
- Sealant Maintenance: Inspect silicone sealant around trim plates and handles for signs of deterioration. Replace as needed to prevent water damage.
Preventative Measures
- Temperature Adjustment: Regularly check and adjust the thermostat to ensure safe water temperatures.
- Check for Leaks: Periodically inspect connections and handles for leaks. Address any issues promptly to prevent water damage.
Conclusion
In conclusion, understanding the installation and maintenance requirements of your Grohe shower mixer is essential for ensuring optimal performance and longevity. By following the steps outlined in this guide, you can confidently install and maintain your shower mixer while preventing common issues. Remember to adhere to safety precautions and manufacturer guidelines throughout the process.
For further information on specific models or troubleshooting, refer to the Grohe installation manual or visit their official website. Today, enhance your shower experience with a properly installed and well-maintained Grohe shower mixer!
FAQs:
What tools do I need to install a Grohe shower mixer?
You’ll need basic tools such as an adjustable wrench, screwdrivers, and plumber’s tape. Specific requirements may vary based on your installation setup.
How do I prevent leaks after installing a Grohe shower mixer?
Ensure all connections are securely tightened using an adjustable wrench. Apply plumber’s tape to threaded ends before connecting water supply lines. Check for leaks during and after installation, adjusting fittings as needed.
How often should I clean and descale my Grohe shower mixer?
Clean the trim plate and handles regularly with a soft cloth and mild detergent. Descaling should be done periodically, depending on water hardness and usage, using a vinegar solution or recommended descaling agent.
What should I do if my Grohe shower mixer’s water temperature fluctuates?
Check the thermostat settings and ensure it is not obstructed by debris or mineral buildup. Adjust the thermostat according to manufacturer guidelines to maintain consistent water temperature.
How can I troubleshoot low water flow from my Grohe shower mixer?
Inspect for blockages in the showerhead or cartridge. Clean or replace the cartridge if necessary. Ensure there are no obstructions in the water supply lines and that the water pressure is adequate from the main supply.
Looking to upgrade your shower experience with Grohe’s Rain Shower System? Discover how this innovative system can transform your daily routine into a luxurious spa-like experience. Grohe is renowned for its commitment to quality and innovation, offering advanced features that enhance water distribution and control. Whether you’re interested in a rejuvenating rain shower or customizable settings for your preferences, the Grohe Rain Shower System delivers exceptional performance and style.
Explore our comprehensive guide to the Grohe Rain Shower System to learn more about its features, installation tips, and maintenance recommendations. Dive into the world of modern shower technology and elevate your bathroom with Grohe’s cutting-edge solutions.
Read more about Grohe Rain Shower System here
Credit Website: www.ireland.ie/