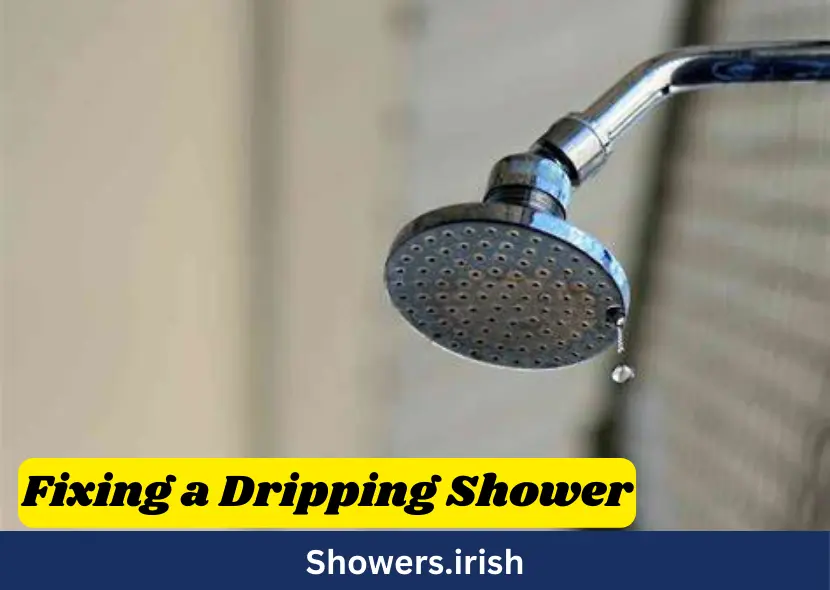
Dripping showers are a common household issue that can lead to wasted water and higher utility bills. Fixing a dripping shower might seem daunting, but with the right guidance, it’s a manageable task. This article will provide you with a detailed, step-by-step guide on how to fix a dripping shower, covering all necessary aspects to ensure your plumbing is in top shape.
Identifying the Cause of the Drip
Before you can fix a dripping shower, you need to identify the cause. There are several potential culprits, and understanding these can save you time and effort.
Common Causes of a Dripping Shower
There are several common reasons why your shower might be dripping:
- Worn-out washers or seals: Over time, the washers and seals within the shower valve can wear out, causing water to leak through.
- Faulty shower cartridge: The cartridge controls the flow and temperature of the water. If it’s damaged or worn, it can cause drips.
- Limescale buildup: Hard water can cause limescale to build up in your showerhead or valve, leading to drips.
- Water pressure issues: High water pressure can cause leaks and drips in your shower fixtures.
How to Diagnose the Problem
To diagnose the problem, start by turning off the water supply to your shower. Remove the showerhead and check for any visible signs of wear or damage. If the showerhead looks fine, you might need to inspect the valve and cartridge.
Tools You Will Need
Having the right tools on hand can make the process much easier. Here’s what you’ll need:
- Adjustable wrench
- Screwdrivers
- Replacement washers or seals
- Plumber’s tape
- Allen wrench (for some shower models)
Step-by-Step Guide to Fixing a Dripping Shower
Now that you’ve identified the potential cause of the drip, let’s dive into the steps to fix it. Follow these instructions carefully to ensure a successful repair.
Turning Off the Water Supply
Before you start any repair work, it’s crucial to turn off the water supply to your shower. This prevents water from spilling out and causing a mess.
- Locate the shut-off valve: This is usually found behind an access panel near the shower or in the basement.
- Turn off the valve: Rotate the valve clockwise to shut off the water supply.
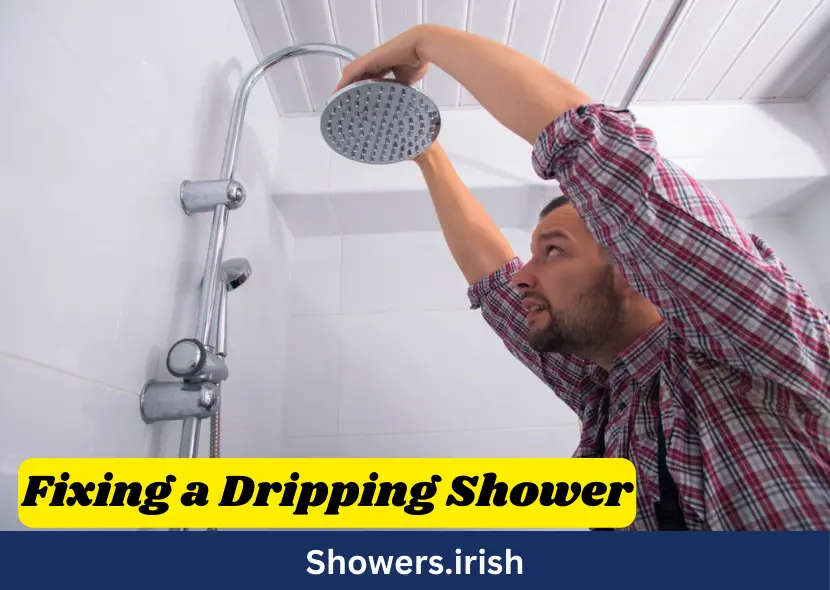
Removing the Showerhead
Next, you’ll need to remove the showerhead to inspect it for any issues.
- Unscrew the showerhead: Use an adjustable wrench to carefully unscrew the showerhead from the pipe.
- Check for limescale: Look inside the showerhead for any limescale buildup. If you see any, soak the showerhead in vinegar to dissolve the deposits.
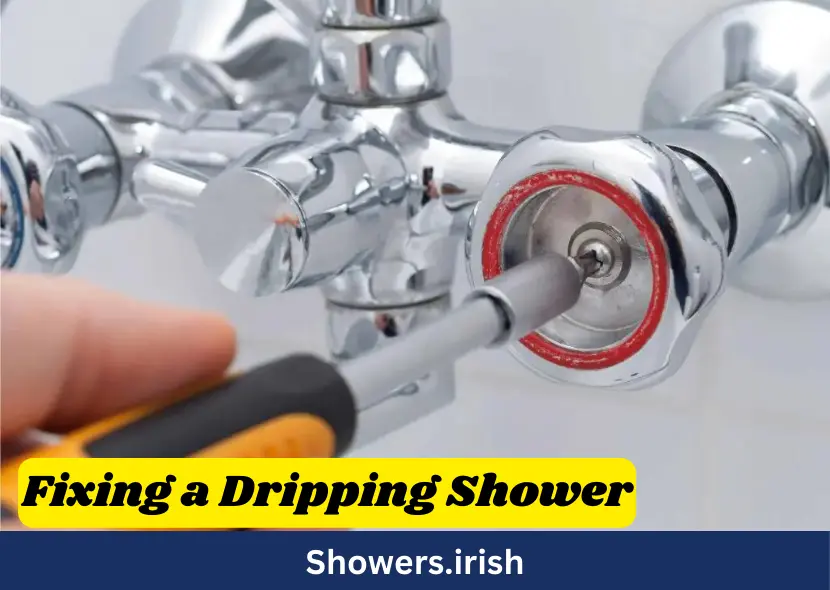
Inspecting and Replacing Washers or Seals
If the showerhead is not the issue, the problem might lie within the valve or the washers and seals.
- Remove the valve handle: Use a screwdriver to remove the screws holding the handle in place.
- Inspect the washers and seals: Look for any signs of wear or damage.
- Replace the washers and seals: If they are worn out, replace them with new ones. Make sure to use the correct size and type for your shower model.
Replacing the Shower Cartridge
If replacing the washers and seals doesn’t fix the issue, you might need to replace the shower cartridge.
- Remove the old cartridge: Use an Allen wrench to unscrew the cartridge from the valve.
- Install the new cartridge: Insert the new cartridge and tighten it with the Allen wrench.
- Reassemble the valve: Put the valve handle back in place and secure it with the screws.
Preventative Measures
Once you’ve fixed the drip, it’s important to take steps to prevent it from happening again. Here are some tips to keep your shower in good working condition.
Regular Maintenance
Performing regular maintenance can help extend the life of your shower components and prevent future drips.
- Clean the showerhead regularly: Soak it in vinegar to remove limescale buildup.
- Inspect the washers and seals: Check them periodically for any signs of wear and replace them as needed.
- Monitor water pressure: High water pressure can cause damage to your shower fixtures. Use a pressure regulator to keep it in check.
Using Quality Parts
When replacing any components, make sure to use high-quality parts. Cheap, low-quality parts are more likely to wear out quickly and cause issues.
Installing a Water Softener
If you have hard water, consider installing a water softener. This can help reduce limescale buildup and extend the life of your shower components.
Troubleshooting Common Issues
Even with preventative measures, issues can still arise. Here’s how to troubleshoot some common problems related to a dripping shower.
Persistent Drips
If you’ve replaced the washers, seals, and cartridge but the drip persists, there might be a more serious issue with your plumbing.
- Check for hidden leaks: Look for signs of water damage or mold around your shower area.
- Consult a professional: If you can’t identify the problem, it’s best to consult a professional plumber.
Low Water Pressure
If you notice a decrease in water pressure after fixing the drip, it might be due to debris or limescale in the showerhead or valve.
- Clean the showerhead: Soak it in vinegar to remove any buildup.
- Check the valve: Make sure there are no blockages in the valve.
Conclusion
Fixing a dripping shower is a task that requires some basic plumbing knowledge and the right tools. By identifying the cause of the drip and following the step-by-step guide provided, you can efficiently resolve the issue and prevent it from recurring. Regular maintenance and using quality parts are key to keeping your shower in good working condition. If you encounter any persistent issues, don’t hesitate to seek professional help.
Frequently Asked Questions (FAQs)
1. What is the most common cause of a dripping shower?
The most common cause of a dripping shower is a faulty faucet or shower valve. Over time, the internal components such as washers, O-rings, or cartridges can wear out or become loose, leading to leaks.
2. How can I tell if my shower leak is due to improper installation?
Leaks around the showerhead, handles, or spout often indicate issues with installation. Look for gaps, loose fittings, or missing caulking. Properly sealing and securing these areas can help eliminate leaks.
3. Can high water pressure cause my shower to drip?
Yes, high water pressure can cause excessive wear and tear on plumbing fixtures, leading to leaks. Installing a pressure regulator or adjusting your home’s water pressure settings can help prevent this issue.
4. How often should I replace shower components to prevent leaks?
The typical lifespan of shower components like seals, gaskets, and washers varies, but it’s a good idea to inspect and replace them every few years as part of regular maintenance to prevent leaks.
5. What tools do I need to fix a dripping shower?
To fix a dripping shower, you’ll typically need basic tools such as a wrench, screwdriver, and replacement parts like washers, O-rings, or cartridges. Specific tools may vary depending on your shower’s make and model.
Dealing with Grout Cracking in Your Shower
Grout cracking in your shower can be a significant issue, often leading to water damage and mold growth if not addressed promptly. Cracked grout not only affects the aesthetics of your bathroom but also compromises its structural integrity. Various factors contribute to this problem, including improper installation, movement in the structure, and the natural aging of materials.
To prevent and fix grout cracking, it is crucial to understand the underlying causes. Regular maintenance, proper installation techniques, and using high-quality grout can help minimize the risk. In some cases, re-grouting might be necessary to ensure a durable and watertight seal.
For detailed insights and professional advice on dealing with grout cracking in showers, visit Showers Irish. They offer expert guidance on identifying, preventing, and repairing grout issues to keep your shower in top condition.
Credit Website: www.ireland.ie/