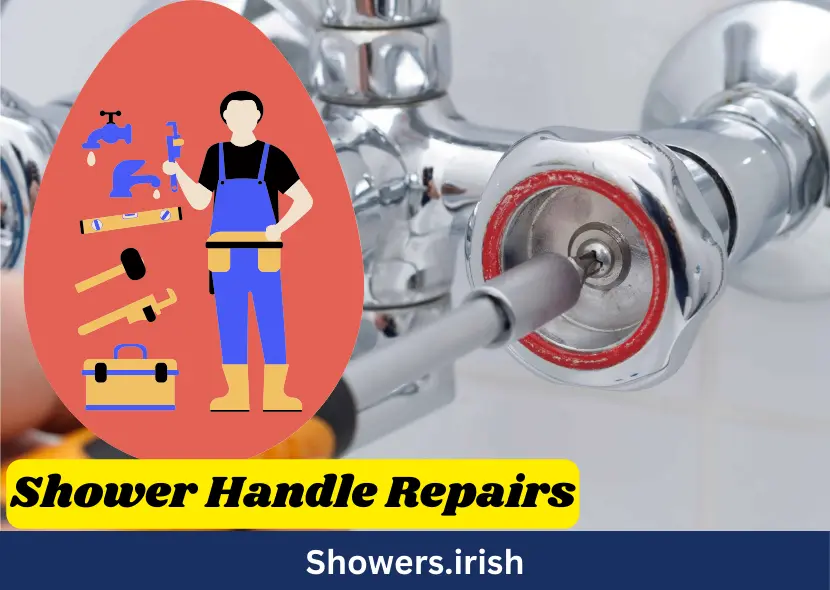
A malfunctioning shower handle can be a source of daily frustration, impacting the overall functionality of your shower and causing unnecessary water waste. Fortunately, fixing a shower handle is a task that can often be accomplished with basic tools and a bit of know-how. In this guide, we will walk you through the step-by-step process to diagnose and repair common issues with shower handles.
Identifying the Problem
Before diving into the repair process, it’s crucial to identify the exact issue with your shower handle. Problems can range from loose handles and leaks to complete handle failure. Understanding the specific problem will help you gather the necessary tools and parts for the repair.
Common Shower Handle Issues
Loose Shower Handle
A loose shower handle is a common problem that can result from regular use. Over time, the screws securing the handle to the valve stem can become loose, causing the handle to wobble or feel unsteady.
Leaking Shower Handle
Leaks around the shower handle often indicate worn-out internal components, such as O-rings or cartridges. These leaks can lead to water wastage and potential damage to your bathroom fixtures.
Stiff or Hard-to-Turn Handle
If your shower handle is stiff or difficult to turn, it could be due to mineral buildup or worn-out internal parts. This issue can make adjusting the water temperature challenging and inconvenient.
Tools and Materials Needed
Before starting the repair, gather the following tools and materials:
- Screwdrivers (Phillips and flathead)
- Allen wrench set
- Adjustable wrench or pliers
- Replacement parts (O-rings, cartridges, etc.)
- Plumber’s grease
- Teflon tape
- Bucket or container
Step-by-Step Guide to Fixing a Shower Handle
1. Turn Off the Water Supply
Before attempting any repairs, it’s essential to turn off the water supply to your shower. Locate the shut-off valves, typically found near the shower or in the basement, and turn them off to prevent water flow.
Locating the Shut-Off Valve
In most homes, the shut-off valve for the shower is located behind an access panel in the wall or under the sink. If you can’t find the valve, you may need to turn off the main water supply for the entire house.
Draining the Water Lines
Once the water supply is turned off, open the shower faucet to drain any remaining water in the lines. This step will help prevent water spills during the repair process.
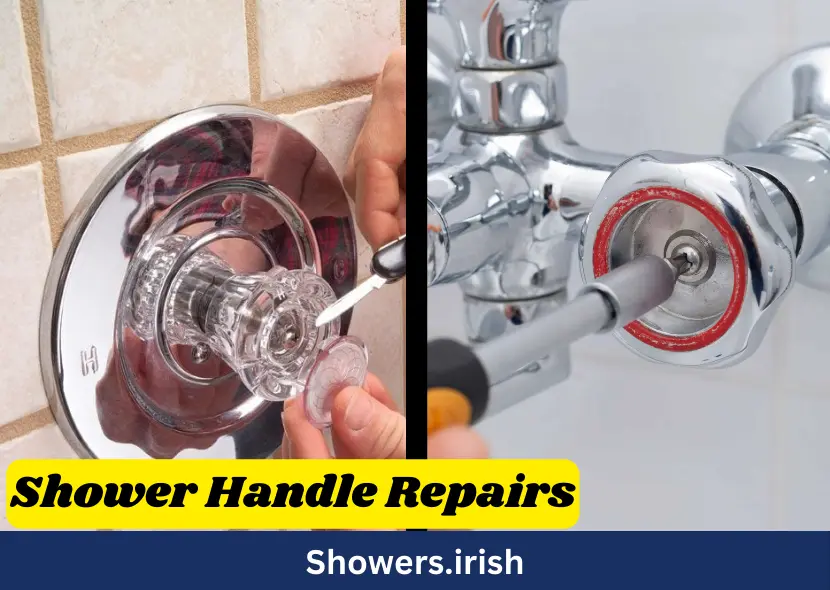
2. Remove the Shower Handle
Removing the shower handle is a straightforward process that requires a screwdriver or an Allen wrench, depending on the type of handle.
Unscrewing the Handle
If your shower handle is secured with a screw, use the appropriate screwdriver to remove it. For handles with a set screw, use an Allen wrench to loosen and remove the screw.
Removing the Handle Plate
After removing the handle, you may need to remove the handle plate. This plate is usually secured with screws and can be easily removed with a screwdriver.
3. Inspect and Replace Damaged Parts
Once the handle and plate are removed, you can access the internal components of the shower valve. Inspect these parts for damage or wear and replace them as needed.
Replacing O-Rings
Worn-out O-rings are a common cause of leaks. Remove the old O-rings and replace them with new ones of the same size. Apply the plumber’s grease to the new O-rings to ensure a proper seal.
Replacing Cartridges
If the issue lies with the cartridge, remove the old cartridge and replace it with a new one. Follow the manufacturer’s instructions for proper installation.
4. Reassemble the Shower Handle
After replacing the damaged parts, reassemble the shower handle and plate. Ensure all screws are tightened securely to prevent future issues.
Applying Teflon Tape
Wrap Teflon tape around the threads of any connections to prevent leaks. This tape provides an additional seal and helps secure the fittings.
Testing the Handle
Turn the water supply back on and test the shower handle for proper functionality. Check for any leaks or issues with water flow and make adjustments as necessary.
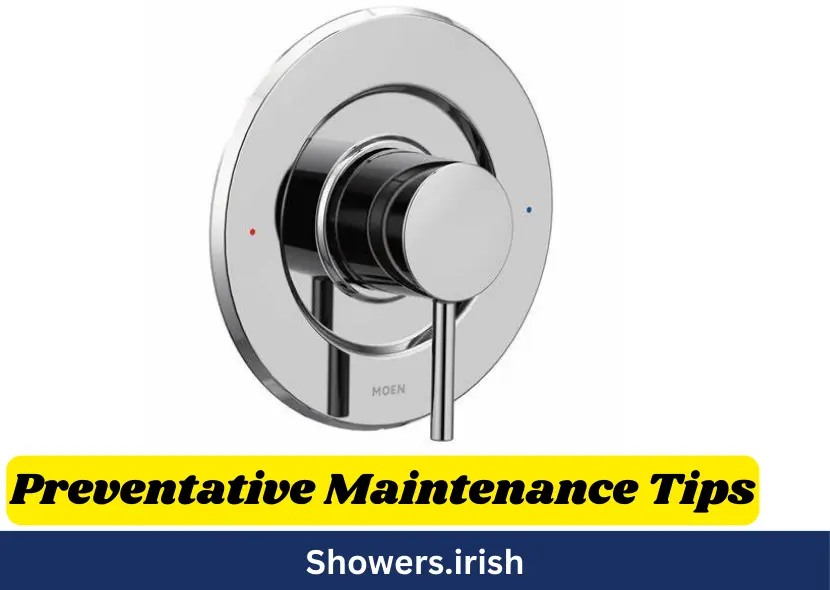
Preventative Maintenance Tips
Regular maintenance can extend the life of your shower handle and prevent common issues from arising. Here are some tips to keep your shower handle in good condition:
1. Regular Cleaning
Clean the shower handle and surrounding areas regularly to prevent mineral buildup and corrosion. Use a mild cleaning solution and a soft cloth to avoid damaging the finish.
2. Lubricating Moving Parts
Apply the plumber’s grease to the moving parts of the shower handle periodically to ensure smooth operation. This step can help prevent stiffness and make the handle easier to turn.
3. Inspecting for Wear and Tear
Regularly inspect the shower handle and internal components for signs of wear and tear. Replace any damaged parts promptly to prevent further issues.
Troubleshooting Common Issues
Even with regular maintenance, you may encounter occasional problems with your shower handle. Here are some troubleshooting tips for common issues:
1. Handle Still Feels Loose
If the handle still feels loose after tightening the screws, check for stripped threads or worn-out screws. Replace any damaged screws to ensure a secure fit.
2. Persistent Leaks
If you continue to experience leaks after replacing the O-rings and cartridges, inspect the valve body for cracks or damage. In some cases, the entire valve may need to be replaced.
3. Difficulty Turning the Handle
If the handle remains difficult to turn, check for mineral buildup inside the valve. Soak the internal components in a vinegar solution to dissolve mineral deposits and ensure smooth operation.
Conclusion
Fixing a shower handle is a manageable task that can save you time and money compared to hiring a professional plumber. By following the steps outlined in this guide, you can diagnose and repair common issues with your shower handle, ensuring a functional and leak-free shower experience. Regular maintenance and prompt repairs can extend the life of your shower-handle, providing you with years of reliable use.
Frequently Asked Questions (FAQs)
1. What should I do if my shower handle is loose?
If your shower-handle is loose, the first step is to turn off the water supply to the shower. Then, remove the handle using a screwdriver or Allen wrench. Check for loose or stripped screws and replace them if necessary. Reassemble the handle and test for stability.
2. How can I fix a leaking shower handle?
To fix a leaking shower-handle, turn off the water supply and remove the handle. Inspect the O-rings and cartridges for wear and replace them if needed. Apply the plumber’s grease to the new O-rings for a proper seal, reassemble the handle, and check for leaks after turning the water back on.
3. Why is my shower handle hard to turn?
A stiff shower-handle can be caused by mineral buildup or worn-out internal parts. To fix this, remove the handle and soak the internal components in a vinegar solution to dissolve mineral deposits. Lubricate moving parts with the plumber’s grease and replace any damaged components.
4. How do I know which replacement parts to use for my shower handle?
To identify the correct replacement parts, refer to the manufacturer’s manual or model number of your shower-handle. If you don’t have this information, take the old parts to a hardware store for assistance in finding matching replacements.
5. What tools do I need to fix a shower handle?
Common tools needed to fix a shower-handle include screwdrivers (Phillips and flathead), an Allen wrench set, an adjustable wrench or pliers, plumber’s grease, Teflon tape, and replacement parts like O-rings and cartridges. Having a bucket or container to catch any water is also helpful.
Dealing with a dripping shower can be more than just a minor annoyance; it can lead to significant water waste and higher utility bills. If you’re experiencing this issue, it’s crucial to address it promptly to prevent further complications. Common causes of a dripping shower include worn-out seals, faulty cartridges, or issues with the showerhead itself. Fortunately, fixing a dripping shower is often a manageable DIY task with the right guidance.
For a comprehensive, step-by-step guide on how to tackle this problem and stop that persistent drip, check out this detailed article: Fixing a Dripping Shower.
This resource provides clear instructions and helpful tips to ensure your shower is back in top condition, saving you both time and money. Don’t let a small leak turn into a bigger problem—take action today!\
Credit Website: www.ireland.ie/